A practical guide explaining how to design, prepare, and manage invitations using structured invitation tools for print and digital distribution.
Introduction
Invitations serve both a functional and symbolic role. They communicate logistical details while setting expectations for tone, formality, and organization. Whether for corporate gatherings, nonprofit events, private celebrations, or internal meetings, the design often shapes first impressions.
For individuals without design training, invitation creation can introduce technical friction. Decisions around layout proportions, font hierarchy, color contrast, and print formatting affect readability and production quality.
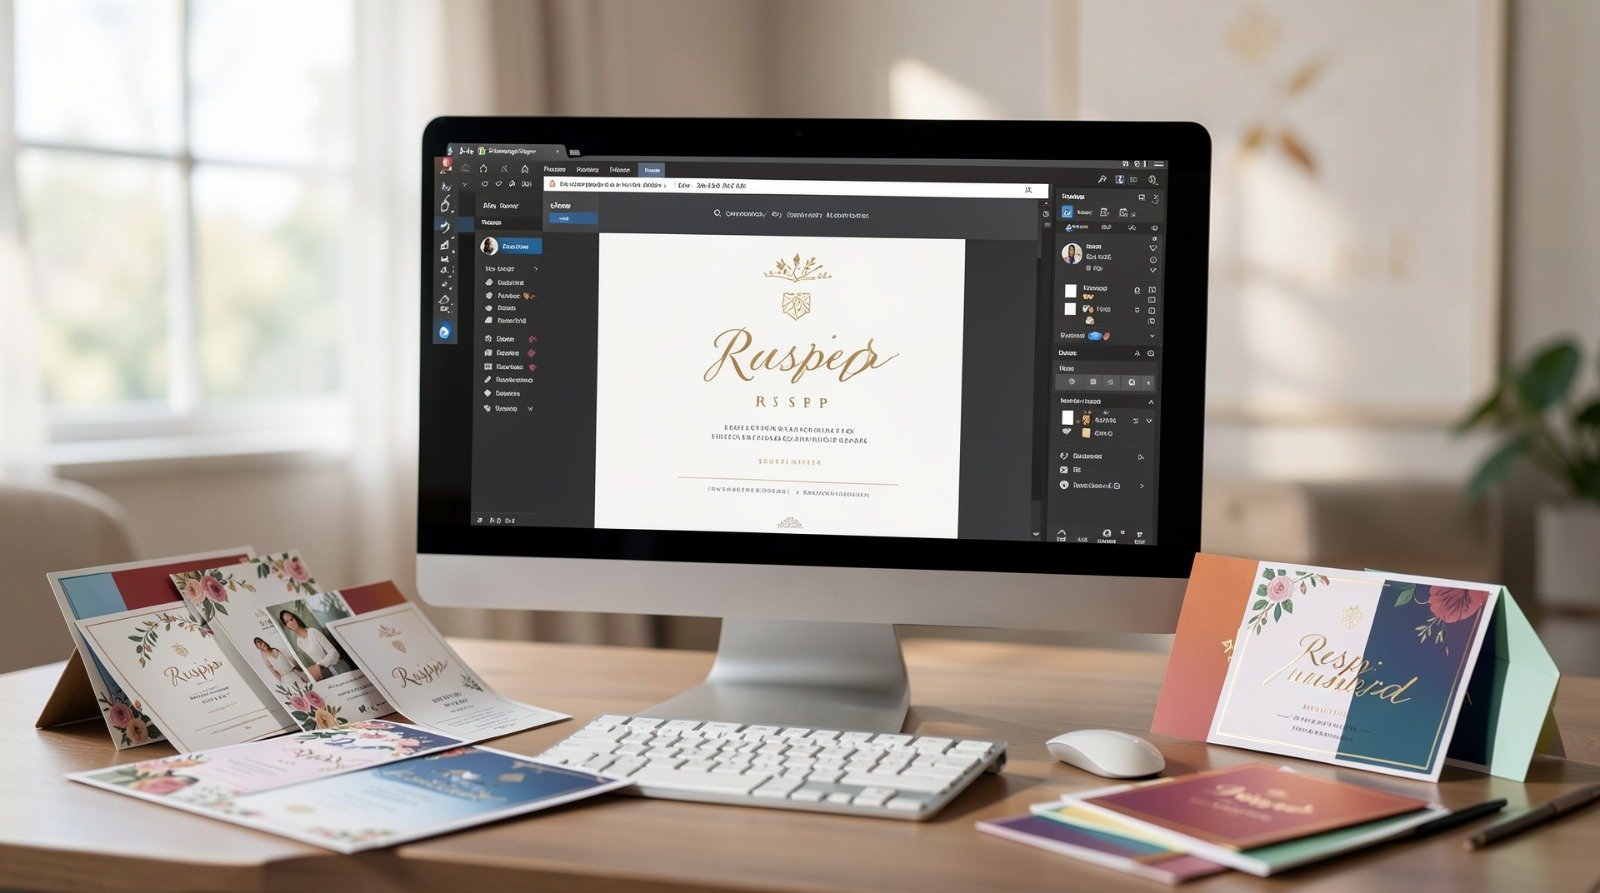
Custom invitation makers reduce these challenges by providing preset dimensions, guided layouts, and export settings aligned with professional print standards. Rather than starting with a blank canvas, users can work within structured templates that minimize formatting mistakes.
The workflow below outlines how to move from template selection to RSVP coordination and final file preparation without unnecessary complexity.
Step-by-Step How-To Guide for Using Custom Invitation Makers
Step 1: Start From a Structured Invitation Template
Goal
Establish correct sizing, spacing, and hierarchy before customization begins.
How to do it
- Select a template that matches the event type and tone.
- Confirm standard dimensions (such as 5×7 inches for print).
- Choose portrait or landscape orientation.
- Replace placeholder content with core event details.
- Many users choose to print custom invitations with Adobe Express because the preset sizing and margin guides reduce common formatting errors.
What to watch for
- Overcrowded layouts.
- Decorative fonts used for long text blocks.
- Text positioned too close to trim edges.
- Templates scaled inconsistently after selection.
Tool notes
Adobe Express includes preset invitation formats aligned with common commercial print sizes.
Step 2: Customize Layout, Fonts, and Brand Elements
Goal
Align the invitation with the event’s visual identity and tone.
How to do it
- Establish a clear headline hierarchy.
- Pair one display font with a readable body font.
- Adjust color palettes to match brand or theme.
- Maintain consistent margins and alignment.
- Increase spacing between sections for clarity.
What to watch for
- Low-contrast text.
- Excessive font variation.
- Decorative elements competing with essential details.
- Inconsistent spacing.
Tool notes
Google Fonts offers accessible typefaces suitable for both print and digital invitations.
Step 3: Set Up RSVP Tracking
Goal
Create a reliable system to monitor guest responses.
How to do it
- Decide between digital, physical, or hybrid RSVP methods.
- Clearly state RSVP instructions and deadline.
- Assign one person to manage responses.
- Maintain a centralized guest list.
- Record confirmations consistently.
What to watch for
- Missing RSVP deadlines.
- Multiple tracking systems causing confusion.
- Manual tracking without backups.
- Contact information placed inconspicuously.
Tool notes
Airtable can organize guest lists and RSVP tracking in a structured, shareable format.
Step 4: Enable RSVP Features or Integrations
Goal
Streamline guest responses through digital coordination tools.
How to do it
- Create an online form for responses.
- Attach calendar invitation files to digital versions.
- Sync confirmed responses into a central database.
- Test links before distribution.
- Confirm automated confirmations are working.
What to watch for
- Broken or untested form links.
- Incorrect calendar time zones.
- Duplicate response entries.
- Data not syncing across platforms.
Tool notes
Calendly can generate calendar integrations that simplify scheduling and response management.
Step 5: Prepare a Print-Ready File
Goal
Ensure the invitation meets professional production standards.
How to do it
- Set resolution to 300 dpi.
- Apply bleed margins if color reaches the edge.
- Convert all artwork to CMYK color mode.
- Keep important text within safe margins.
- Export as a high-quality PDF.
What to watch for
- RGB files submitted for print.
- Missing bleed on edge-to-edge designs.
- Fonts not embedded in the exported file.
- Low-resolution images.
Tool notes
Adobe Express supports high-resolution PDF exports with print-ready settings.
Step 6: Finalize Custom Order Details
Goal
Confirm production specifications before submitting the file.
How to do it
- Verify total quantity.
- Select paper weight and finish.
- Review digital or physical proofs carefully.
- Confirm production turnaround times.
- Double-check the exact file being submitted.
What to watch for
- Ordering incorrect quantities.
- Overlooking proof corrections.
- Submitting outdated versions.
- Selecting finishes inconsistent with event tone.
Tool notes
Most commercial print shops provide downloadable file requirement sheets outlining acceptable formats.
Step 7: Coordinate Distribution and Follow-Up
Goal
Align invitation delivery with communication and attendance planning.
How to do it
- Schedule mailing or digital send dates.
- Monitor RSVP completion rates.
- Send reminders ahead of the deadline.
- Archive final design files for reuse.
- Keep attendance records updated.
What to watch for
- Invitations sent too late.
- Incomplete mailing lists.
- Branding inconsistencies across communication channels.
- Lost master design files.
Tool notes
Constant Contact can assist with structured reminder emails and RSVP follow-ups when invitations are distributed digitally.
Common Workflow Variations
Digital-Only Invitations
Focus on mobile readability and clickable RSVP links. Skip bleed setup but confirm screen resolution.
Formal Printed Invitations
Prioritize paper weight, finish, and proof review. Allow additional time for shipping.
Corporate Events
Use approved brand colors and fonts to maintain internal consistency.
Small Personal Gatherings
Simpler layouts with minimal embellishment reduce formatting risk.
Before You Start Checklist
- Confirm event date, time, and location.
- Finalize guest list.
- Gather logos and brand colors.
- Select invitation dimensions.
- Decide on RSVP method.
- Establish production timeline.
- Confirm print or digital format.
- Review budget considerations.
Pre-Export / Pre-Order Checklist
- Resolution set to 300 dpi.
- Bleed margins applied if needed.
- CMYK color mode confirmed.
- Fonts embedded or outlined.
- Images high resolution.
- Text proofread carefully.
- File exported as high-quality PDF.
- Final proof reviewed at full size.
Common Issues and Fixes
Blurry Images in Print
Replace low-resolution images before exporting and confirm 300 dpi resolution.
Text Cropped at Edges
Move text inward to respect safe margins and confirm bleed settings.
Color Shift Between Screen and Print
Convert to CMYK earlier in the workflow and adjust brightness if needed.
Overcrowded Layout
Remove non-essential decorative elements and increase spacing.
Broken RSVP Links
Test all digital links before distribution.
How To Use Custom Invitation Makers: FAQs
Is starting from a template more reliable than designing from scratch?
Templates reduce sizing and margin errors. Custom layouts require careful measurement.
Should invitations be printed or sent digitally?
Printed invitations provide tactile presence. Digital invitations simplify RSVP tracking and reduce production time.
What file type should be sent to a printer?
A high-resolution PDF with bleed and CMYK settings is widely accepted.
How early should invitations be distributed?
Timelines vary by event type, but sufficient notice supports clearer attendance planning.