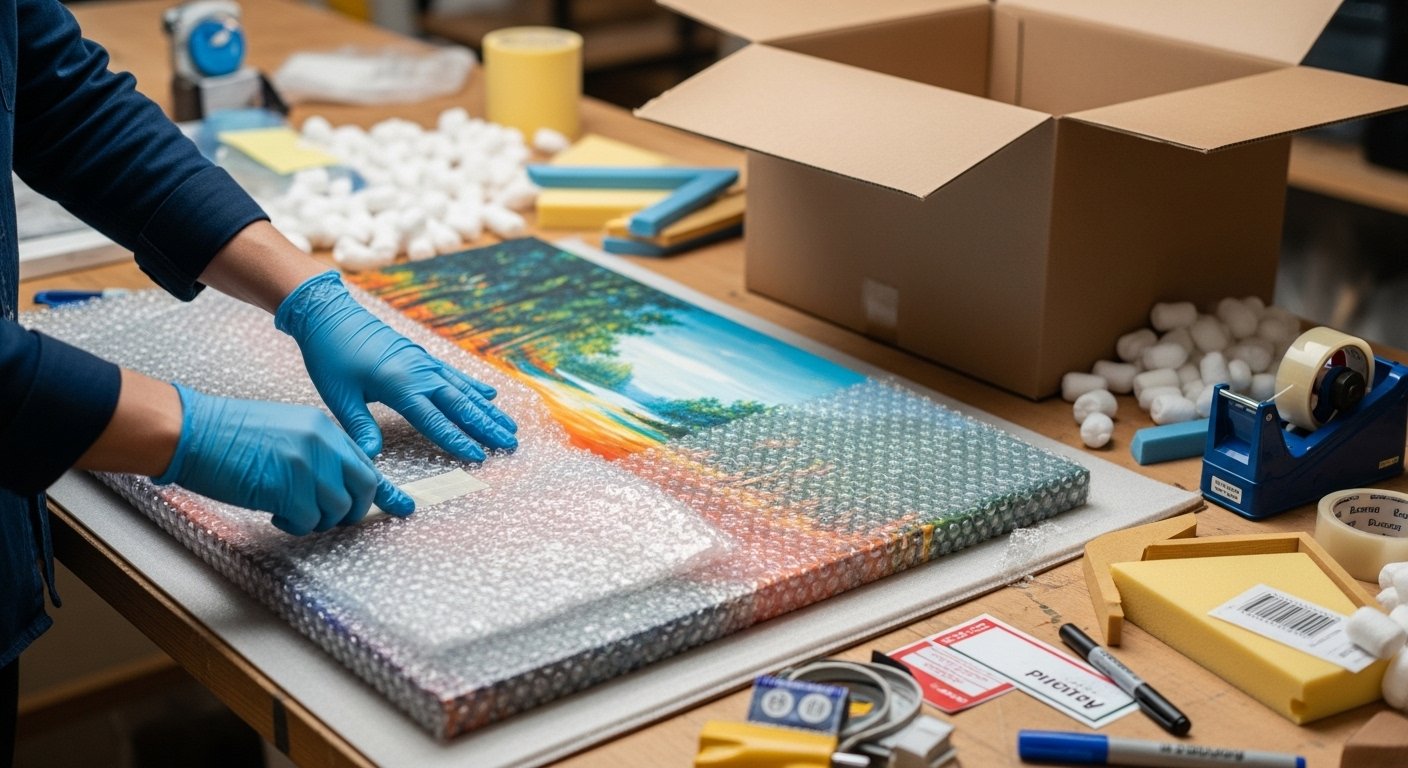
Creating handmade bags is an art form, but what separates a homemade project from a boutique-worthy piece often comes down to the finishing details. While your stitching might be flawless and your fabric choices impeccable, it’s the professional touches—the hardware, edge finishing, structure, and branding—that signal quality to discerning customers.
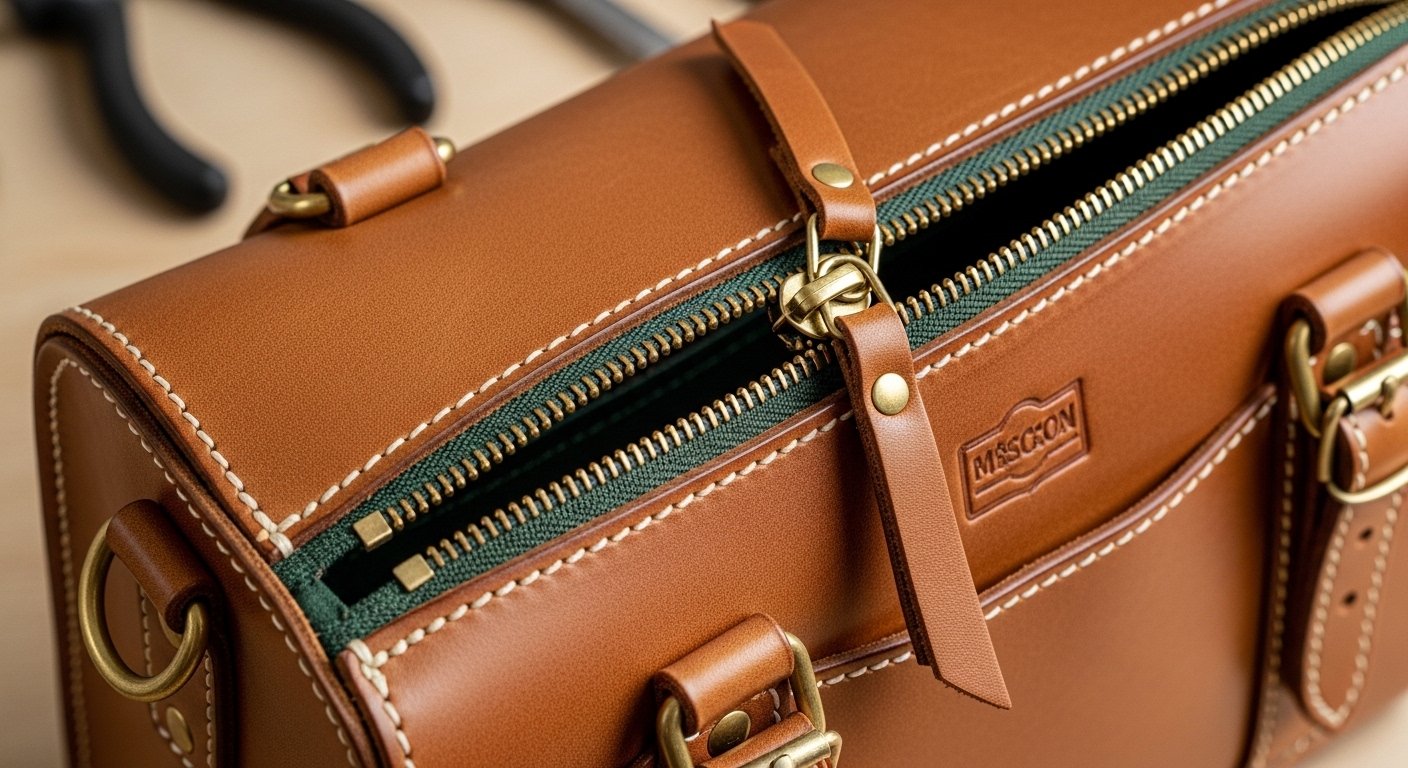
Choosing Hardware That Signals Quality
Hardware selection makes an immediate visual impact. Cheap, flimsy closures and straps undermine even the most beautifully constructed bag, while quality hardware elevates the entire piece.
Magnetic Snaps and Closures
Magnetic snaps are workhorses in bag making, but not all magnets are created equal. Professional makers choose snaps with strong neodymium magnets that close securely without requiring excessive force. Look for options with prongs long enough to accommodate your bag’s layers, interfacing, and lining.
Installation matters as much as selection. Reinforce the area behind magnetic snaps with extra interfacing or a small piece of sturdy fabric to prevent tearing over time. This simple step extends the bag’s lifespan considerably.
Swivel Hooks
For bags with detachable straps, swivel hooks provide both functionality and a polished look. The swivel mechanism prevents strap twisting, a small detail that customers notice and appreciate. Pair these with D rings—metal rings that create secure attachment points and add visual interest to your design.
When selecting swivel hooks and D rings, match the metal finish across all hardware pieces. Mixing antique brass with nickel creates a disjointed appearance that screams amateur. Consistency in hardware finish ties the entire design together.
Investment in Quality
Quality hardware costs more upfront, but the investment pays dividends. Premium zippers glide smoothly without snagging. Well-made buckles adjust cleanly and hold securely. These functional details become selling points that justify premium pricing and reduce customer complaints.
Source hardware from reputable suppliers who specialize in bag-making components rather than general craft stores. The difference in quality is substantial and immediately noticeable to experienced makers and customers alike.
Mastering Edge Finishing for Leather Components
Raw, untreated edges on leather components look unfinished and feel rough to the touch. Professional edge finishing transforms these rough edges into smooth, polished details that define quality leatherwork.
Edge Painting Technique
Edge painting creates a smooth, colored finish along leather edges. Start by beveling the edge with an edge beveler tool to round off the sharp corner. This creates a surface that accepts paint evenly and looks intentionally finished rather than simply colored.
Sand the beveled edge lightly with fine-grit sandpaper to remove any fuzziness. Apply edge paint in thin layers, allowing each coat to dry completely before adding the next. Three to four thin coats create a more durable, professional finish than one or two thick applications.
Between coats, lightly sand with very fine sandpaper or a canvas cloth to smooth any imperfections. The final layer should appear glass-smooth with no visible brush marks or bubbles.
Burnishing for Natural Edges
Burnishing creates a smooth, polished finish without paint by compressing and polishing the leather fibers. This technique works best on vegetable-tanned leather and creates a beautiful, natural-looking edge.
Apply a small amount of water or specialized burnishing compound to the beveled edge. Use a burnishing tool—either a dedicated wood burnisher or a motorized burnisher—to rub the edge vigorously. The friction and compression create heat that seals and polishes the leather fibers.
Continue burnishing until the edge feels smooth and appears slightly glossy. This process requires patience and elbow grease, but the results speak for themselves. A well-burnished edge needs no paint and showcases the leather’s natural beauty.
Building Structure That Maintains Shape
Professional bags hold their shape even when empty. This structure comes from strategic use of stabilizers and foam that provide body without adding excessive weight or stiffness.
Selecting Appropriate Stabilizers
Different bag styles require different stabilizing approaches. Tote bags benefit from firm interfacing in the body panels and bottom. Crossbody bags might need a softer stabilizer that allows the bag to drape naturally while still maintaining basic structure.
Fusible interfacing offers convenience, but sew-in stabilizers often provide better long-term performance. For bags that will see heavy use, consider double-layering interfacing or using specialized bag-making foam sheets between the outer fabric and lining.
Strategic Foam Placement
Foam adds structure to specific areas without making the entire bag rigid. A layer of 1/8-inch foam in the bottom creates a stable base that prevents sagging. Foam in bag panels helps maintain the silhouette when the bag is partially full.
Cut foam pieces slightly smaller than your fabric pieces to prevent bulk in seam allowances. Baste foam to your fabric layers before constructing the bag to prevent shifting during sewing.
Bottom Support
A structured bottom transforms how a bag sits and functions. Consider adding a rigid base—made from plastic canvas, thin wood, or specialized bag bottoms—that can be removed for washing or replaced if damaged. Encase these bases in fabric pockets sewn into the lining for a clean, professional finish.
Achieving Clean, Professional Stitching
Stitching is both functional and decorative. Clean, consistent stitching signals care and expertise, while messy or puckered seams undermine otherwise quality work.
Topstitching Techniques
Topstitching adds visual interest and reinforces seams, but only when executed well. Use a slightly longer stitch length than standard seaming—3.0mm to 3.5mm works well for most bag fabrics. This creates a deliberate, professional appearance rather than looking like a simple seam.
Invest in a topstitching or jeans needle, which has a larger eye to accommodate thicker thread. Topstitching thread in a coordinating or contrasting color adds polish and draws attention to clean stitching lines.